

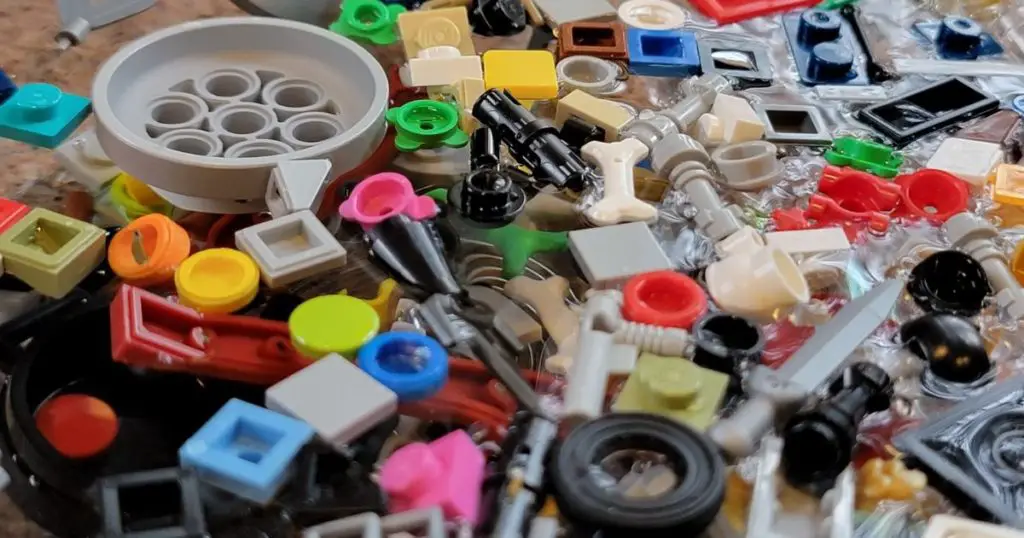
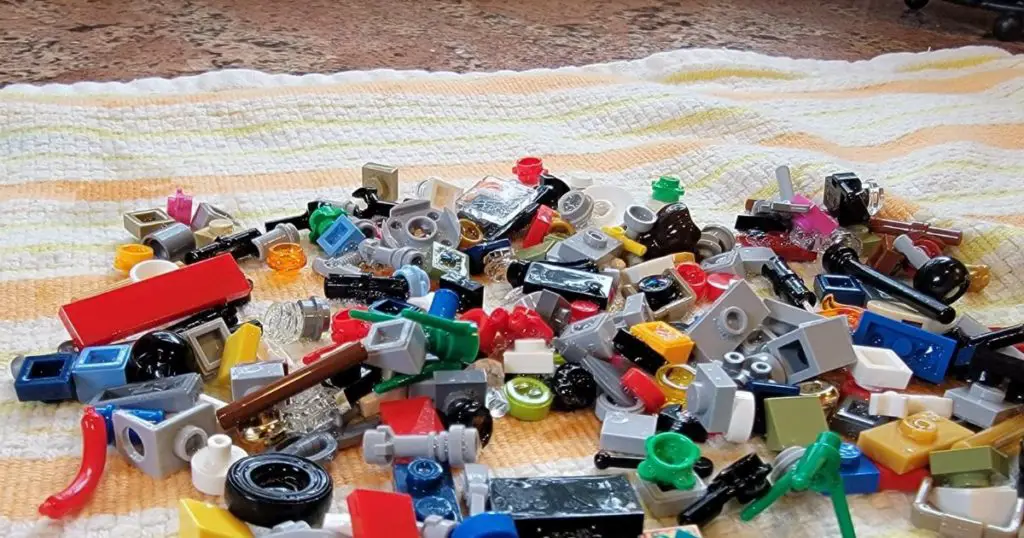
When you purchased your brand new LEGO sets, you were likely excited to open them and start playing with them. Cleaning your shiny LEGO bricks and parts was the last thing on your mind. But now, after constructing and dismantling your LEGO Death Star, Pirate Ship, or other unique creation countless times, your LEGO parts have begun to accumulate dirt and grime, and you may be wondering how to bring them back to their former glory. Or perhaps you bought some great deals of used LEGO at a yard sale or garage sale, and want to clean them thoroughly.
There are many options to effectively clean LEGO bricks and parts, but the safest and most effective way is to clean them by hand using lukewarm water and a small amount of soap or gentle detergent. If you would like to remove smells or disinfect the parts, adding a very small amount of white vinegar to the water can help. For electrical LEGO parts or pieces that have stickers, use a disinfectant wipe to clean them instead of water.
There is more to it, of course, and in this article, we will walk through everything you need to know about cleaning LEGO bricks, the best way to clean pieces and get rid of marks and foul smells. Let’s jump in!
How to Wash LEGO Parts
The LEGO Group offer some recommendations directly for washing LEGO parts, and they suggest that it is important to clean parts by hand. The maximum temperature for washing LEGO is 104 degrees Fahrenheit. If you use temperatures above that, you risk damaging the plastic pieces. It’s recommended that you use water and a mild detergent. After cleaning the LEGO, you should thoroughly rinse them with clean water to remove any soap residue.
One of the important things to pay attention to is whether or not the parts that you are cleaning have stickers on them. If there are stickers, you need to treat those parts differently. The first step is to separate stickered pieces from non-stickered pieces, before cleaning.
LEGO parts that don’t have stickers can be cleaned with lukewarm water and a small amount of soap. Place them in a container, stir them around by hand to loosen up any dirt, and allow any exceptionally dirty pieces to soak in the water for some time. If the water is hot to the touch, add some cool water before proceeding. Once the parts are clean, use clear water to rinse your LEGO parts thoroughly. A colander can help you rinse them thoroughly with no leftover residue.
LEGO parts that have stickers should not be immersed in water, as that will likely damage the stickers and cause them to peel. Instead, you can use a soft cloth, a spare toothbrush, or alcohol wipes or other cleaning wipes to remove dirt from stickered pieces. This should also be done for any electrical parts, as those should not be submerged in water.
Washing your LEGO parts can take as little as 20 minutes or up to several hours based on the number of parts you have. These basic guidelines are an excellent place to start. But if you have ever had to clean LEGO, you know that a lot more is involved.
How to Dry LEGO Parts
It is important to take care not to damage LEGO pieces while drying them, because some options you may consider here can be damaging. For example, The LEGO Group advises fans not to use a hair dryer, microwave, or oven to dry them, because the heat can be damaging to the plastic pieces. It is also important to not put them in the sun or under direct artificial light to try to dry them, as this could cause the colors of your LEGO parts to fade.
The best approach is to simply lay all of the elements out an absorbent cloth or towel. Spread them out as much as possible so that there are no pieces stacked on top of each other. If you have a fan lying around, this could help to speed up the process. Set up an electric fan pointed at the drying elements, as long as the air it produces is cool. Then simply flip the bricks over from one side to another by hand after some time, and wait.
Because LEGO pieces have nooks and crannies, it can sometimes take an entire day or two for them to fully dry, depending on the type of pieces, the quantity, and whether or not you can spread them out evenly while they air dry.
What tools do I need to clean LEGO parts?
To get started, here are some towels that you may need:
- A Basin or Bin. The first thing you will need is a basin, plastic container or small plastic bin, which should be filled with warm water and mild soap or detergent. This basin will be where you will dump your LEGO in to start the cleaning process by letting them soak in the water. Another tool you could consider here is a salad spinner, which is a creative approach that can work well.
- A Brick Separator. You should aim to make sure that each LEGO part gets cleaned individually. By cleaning parts that are stuck together, you won’t be able to clean the parts completely. Prying apart LEGO that have been stuck together for some time is sometimes difficult, and using a brick separator (commonly found inside each LEGO set box) to help you is a great approach.
- Mild Dish Detergent. It is important to not use bleach or any other form of harsh cleaning product, as these can damage or discolor the LEGO parts. Use a mild detergent or dish soap to avoid any damage. Water and some mild dish detergent or soap will be completely fine for your LEGO components and will not damage them. Most pieces are not water-sensitive.
- A Sponge or Cloth. Some of the parts you are cleaning will have more grime on them than others, and simply swirling them around in soapy water won’t be enough for those cases. By having a handy sponge, cloth, or scrubber nearby, you will be able to quickly remove any more stubborn dirt that you come across.
- A mesh laundry bag. If you have a mesh bag lying around, it can be a huge help here. You can use a mesh bag to keep the LEGO parts together throughout the cleaning process. The LEGO bricks will then be kept together while you clean them in bulk, so you won’t have to rinse them off one at a time. A great option for some mesh laundry bags you can use is this one on Amazon.
- A colander or food strainer. This can help to make sure you don’t lose any small pieces when draining the water.
- Dry Towel or Cloth. For the drying process, you will need a towel or dry cloth as a place to lay the soapy LEGO bricks after they have been washed so that they can air-dry.
- A cool powered fan. If you need to dry the parts quickly, a fan is a good tool to use. Point the fan at the parts and let them dry under a cool setting. Don’t use a hair dryer or other device that produces extreme heat.
Although not every tool on this list is absolutely necessary, depending on your circumstances they are all useful to have with you when you start cleaning LEGO bricks.

Can I put LEGO bricks in the washing machine or dishwasher?
Officially, the answer that The LEGO Group give for this question is that you should not put LEGO bricks or other parts in the washing machine or dishwasher, because high temperatures can lead to the plastic changing shape, which would cause the parts to not click together when you are trying to use them.
However, there are many people who do successfully use these appliances to clean LEGO parts, so in some circumstances it is do-able. It is important to set a low temperature if you do decide to attempt it, and it is also helpful to place all of the parts you want to clean into a mesh bag to keep them together while they are being cleaned. Most important of all, however, is to acknowledge that you are going outside of the recommendations from The LEGO Group and there is always a chance that you damage the elements by doing so.
How to sanitize LEGO parts
Let’s say you hit the motherload of cheap LEGO parts at a garage sale. Amazing work! We all know that LEGO parts in brand new condition can be expensive. But since you don’t know the history and condition of this lot, before building them, giving them to your kids, or selling them on eBay, you could consider taking the time to sanitize everything.
This works mostly the same way as the regular method to wash LEGO parts using soapy lukewarm water. However, to fully sanitize and kill all germs, there is one additional step. Consider adding a a few drops of white vinegar to the soapy water. This will help to make sure that no germs make through the washing process.
How to Remove Permanent Marker from LEGO Pieces
Some LEGO sets can go through a lot during their lifetime! Depending on whether they are owned by a c
LEGO are playthings for kids. They may not be as careful with them as you are. However, permanent markers and glue do not have to ruin your LEGO.
You may wonder, “Can I clean Lego with alcohol?” Yes. Ninety-nine percent isopropyl alcohol can get rid of permanent markers and paint pens on your LEGO. Don’t use nail polish remover. It could work, but it has a lower alcohol percentage. Additionally, it takes nail polish remover longer to evaporate, and it could damage your LEGO.
Don’t go crazy with the alcohol. Clean the LEGO. Immediately let dry it. You can better control the amount of alcohol used if you use a cotton swab or a Q-tip to dab away the marker gently.
How to Clean Several LEGO Sets at the Same Time
If you want to clean multiple LEGO sets quickly without having to do them one at a time, then there are a few quick tips that could help you here.
We have mentioned that a mesh bag can help with keeping your parts together while you clean them. This is extremely useful if you want to clean multiple sets. By purchasing a multi-pack of a mesh laundry bag, you can then place the components from each set in its own bag. This will allow you to clean them all together while still keeping the components of each set together in one place.
The mesh laundry bags that we recommend are these ones. They are reasonably priced and come in a pack of different sizes.
You will still need to dismantle each set and separate any electrical or stickered parts as you would if you were cleaning a single set, so it’s important not to skip that step.
Another option for cleaning multiple sets at the same time is to use multiple plastic bins or containers, and place each set in its own basin of lukewarm soap water. This is another quick and easy way to make sure you keep each set together.
How to Remove a Smoke Smell from LEGO Pieces
If your LEGO smell like smoke, take baking soda, and water and make a paste. Cover the LEGO parts with the paste. Or alternatively, you could make a mixture of water, baking soda and white vinegar. Spray the mixture over the LEGO pieces by using a spray bottle. Just remember to the spray away from your garden, your plants, or your grass because vinegar is fatal for all these things.
Once the vinegar comes into contact with the baking soda, it will create a foam that helps to eliminate odor. Apply this to all of the smoky LEGO parts, and then repeat the process until the smell disappears. Finally, rinse thoroughly with water, and let them dry for a few hours. The smell should be gone, and your LEGO parts should be like new.
How to Make LEGO Pieces Shine
The clear pieces of your LEGO set are made using a different type of plastic than what is used for colored bricks. You may have noticed that often, these translucent parts can develop many small scuffs and scratches. Over time, they can take on a dull or foggy look as they are exposed to the elements and mixed with other parts.
The dull appearance is the result of minor scratches, but the good news is that there is a remedy. Liquid acrylic can help to make the scratches disappear and return your translucent parts to their former glory.
To do this, first you will need some floor polish, such as this one. Pour some of the floor polish into a small bowl, and then take your clear LEGO pieces and dip them in so that they are submerged. Once the submerged piece has been removed and allowed to dry, you can use a soft cloth to polish the piece.
Once the pieces are dry, you should notice a massive improvement in how these clear parts look.
How to Store Your Cleaned LEGO Parts
After you have gone through all the trouble of cleaning your LEGO, you will likely want to keep them looking good for a long time. There are several storage options you can use to accomplish this.
If you have just a handful of LEGO parts, a quick and easy storage option is to use Tupperware containers or other small tubs, as long as they have a lid. Since it is a small quantity of parts, it is easy to find the specific pieces that you need while building your creations. It can also be fun sticking your hand into a tub of LEGO parts.
However, as your collection gets more prominent, it can become harder to sort through bricks to find that one part that you need. Therefore, it is time to adjust your storing method. You might get several boxes with lids and sort your pieces by color, size, or shape. Many have found plastic shoebox containers to be optimal in the beginning stages of their collection.
Once you move to the master-builder level, you may want a small parts storage cabinet system – click here to see one that we recommend. With see-through drawers, you can quickly and easily see what parts are stored within. To simplify things even further, you could consider tagging the drawers with a code or numbering system.
Final Thoughts
If you are looking to revive some old LEGO parts back to their original glory, I hope this list of tips was useful in showing you how to clean LEGO bricks and parts. As your collection grows, keep some of these cleaning tips in mind. They will ensure that your LEGO set looks its best.
If you would like to learn more about LEGO collecting, check out this article we wrote about whether or not you should keep LEGO instructions. Enjoy!